Showing posts with label fabric. Show all posts

Saturday, January 8, 2011

First Bondaweb Encounter!!

Today I fancied a nice quick instant gratification project....you know the kind....not a lot of thinking involved and no arrgh moments when it doesn't go the way you had expected.
I had a metre of bondaweb stashed away crying out for a project.I remember a few years ago being asked to make an applique design on a quilt cover.It was quite a large design so I asked in the haberdashery shop(which will remain nameless!!) if there was any vilene type product to make applique easier.I was told there was not. Darn I thought,and proceded to stick all my pieces on the cover with the hemmit stuff for quickly hemming your trousers. Now,it worked,but the whole project was painful.It turned me off applique for quite a while.
Anyhow recently I had heard about this bondaweb product.You basically iron it to your fabric giving the fabric a little body ,then take off the backing paper and iron it to your fabric.BRILLIANT!!.....and it works....

I of course had to zig zag around....just in case...........
To stitch or not to stitch that is the question......will it stay stuck on through washing or not........do you stitch???


Wednesday, December 1, 2010

Lush shoulder bag tutorial

This is my second attempt at a tutorial....here is the bag I am going to guide you through making.Please feel free to let me know if I have left anything out..
Place the pattern on a double layer of fabric. I used a home decor weight so did not interface it. If you use a lighter weight fabric I would recommend using an iron on interfacing to give stiffness.


Here you can see the measurements if you click on the picture to enlarge.

more measurements

Cut out lining...again on a double layer.I used fleece fabric for a soft finish.

This is the pattern for the pocket,cut two pieces.I used co-ordinating fabrics.

Note the marks at the top for the pleats

Pin the outside marks to the centre to form a pleat on both fabrics.

Pleat.

Pin the two pieces together ,sew around leaving a gap at the bottom to turn out.

gap

trim the corners.

Sew the 2 sides on the lining.

Sew one side of the main fabric.

If you like add a trim to the top of the pocket.I could not resist this pretty ribbon.

Open out the main fabric and place the pocket centrally on the seam you sewed.Sew the pocket in position.

Sew together the other side seam.

Open out the bag so that the two seams are on top of one another and sew along the bottom edge of the bag.Do the same with the lining.

Make corners and trim excess.Again do this for the lining too.


This picture might give you a better idea of how to do the corners.


Next is the button flap.Cut two pieces 5inches by 3 inches.

Sew around 3 sides and clip corners

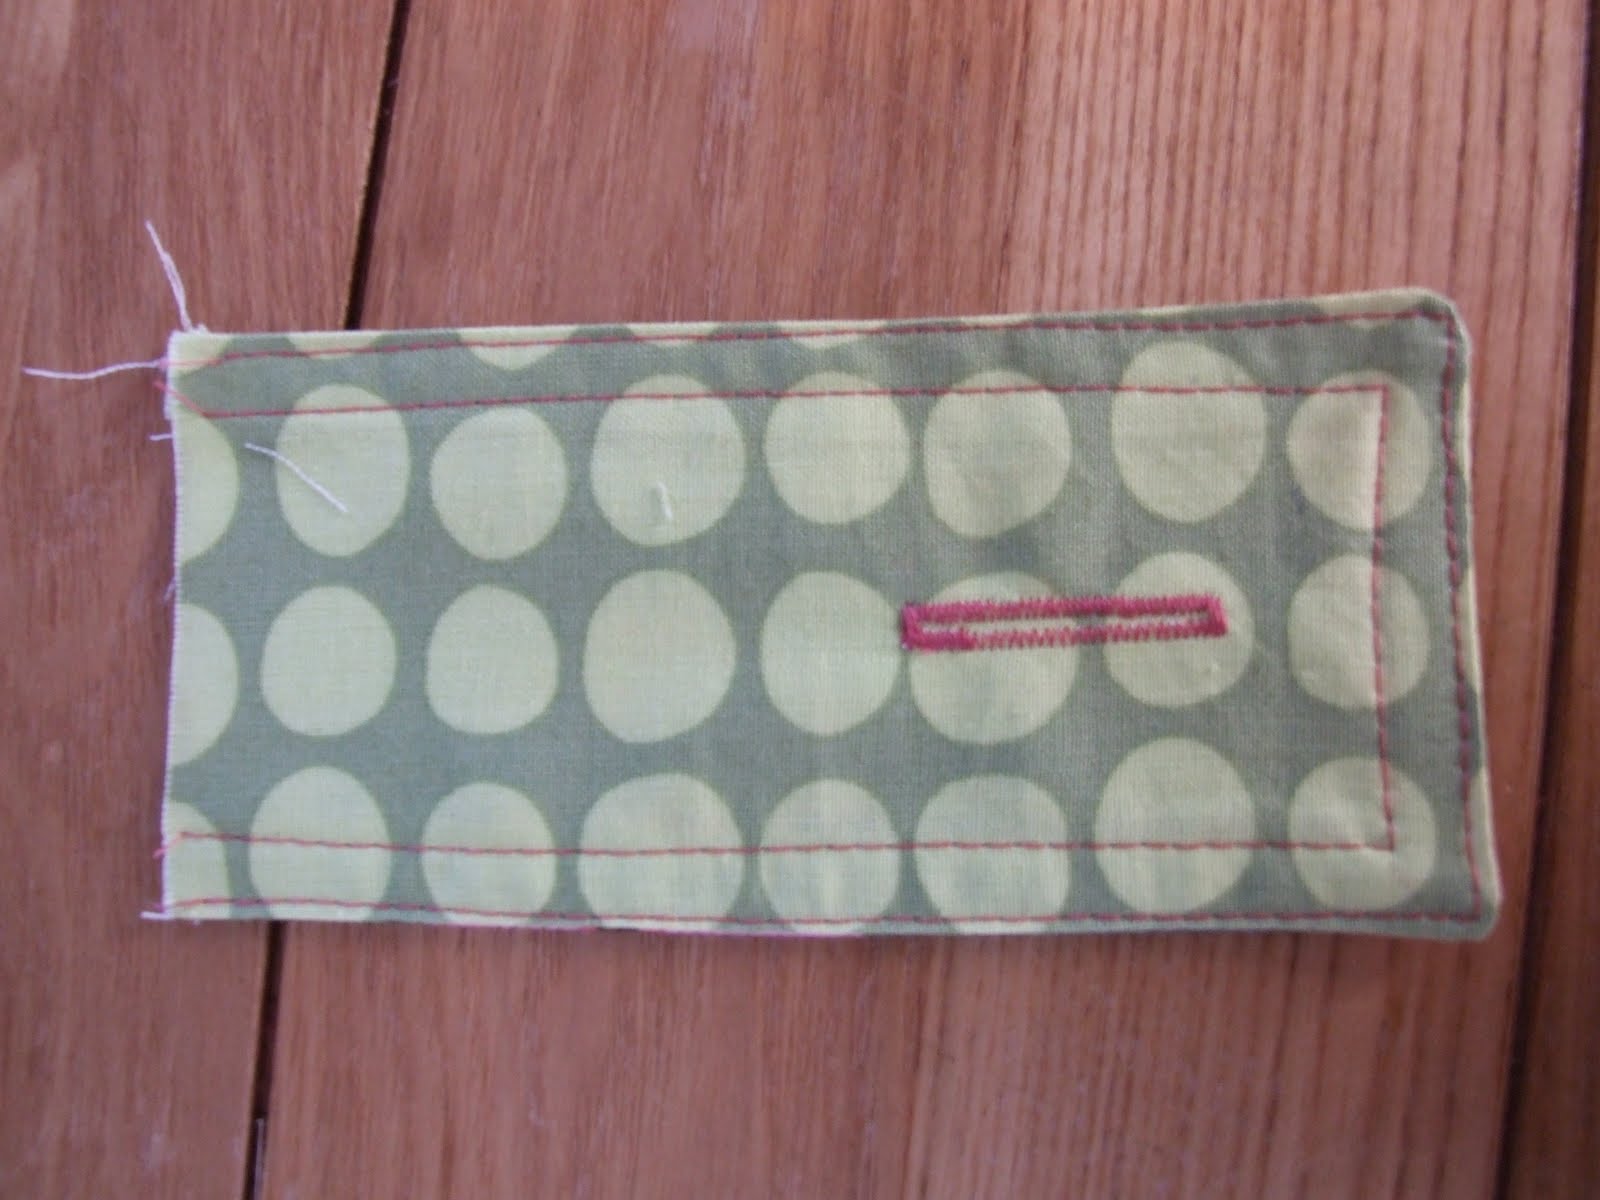
Overstitch and sew a butonhole.

Place the lining into the main bag right sides together.

Place the botton flap between the layers centering it on the middle seam.

Pin the two layers together all around,keping seams and corners matched.

Starting about 5 inches from the end of the strap sew down along the strap ,across the front of the bag and up the second strap,taking care at the corners.
Stop about 5 inches from the end of the strap.

Sew the other side from beginning of the strap to the end of the other side.

Clip into the corners taking care not to snip the stitching.

Turn the bag right sides out through the straps.Pin and sew the strap seam.

Strap seam sewn.


Fold in a seam allowance on both fabrics.

Handstitch the gap together.
Sew in a button....and voila....all done...Enjoy your new bag!!

There is a flickr group for the lush shoulder bag....if you make a bag from my tutorial please add pictures to the group pool...I would love to see your bag.

As seen on CraftGossip.com