This Christmas I was in a serious make and do mode. During Christmas day and St Stephens day at my sisters house I managed to crochet some hats.This one is my favourite,made from pure wool I have had in the attic for probably the guts of 20 (shush!!) years.
 I bought this japanese panel in Pippablue a few weeks ago and immediately cut out a jacket the minute I got it home. It sat beside the sewing machine til this week.
 Here is the almost finished jacket....only buttons and handsewing left to do. I am not mad about the collar but its nothing a lovely scarf won't sort out!
 I have come to the conclusion that I have a bit of OCD going on. Ages ago I bought the Amy Butler Liverpool shirt pattern. I made one from a gorgeous Kaffe Fasset fabric and love it. It's a matter of leggings,t-shirt, boots, sorted, dressed!!
 At the knitting and stitching show this year I bought some fabric with no clear plans in mind. I proceeded to make 2 more Liverpools. This week I was looking a one of the pieces of aforementioned fabric trying to figure out what to make, I even cut out a pattern of a dress but ended up making.....another Liverpool. I think the problem is that when I make something I don't really know if I am going to like it til its made and the Liverpool is my little comfort zone now.Darn....but I love it.
 Kaffe Fasset and 3 fabrics bought at the knitting and stitching show.
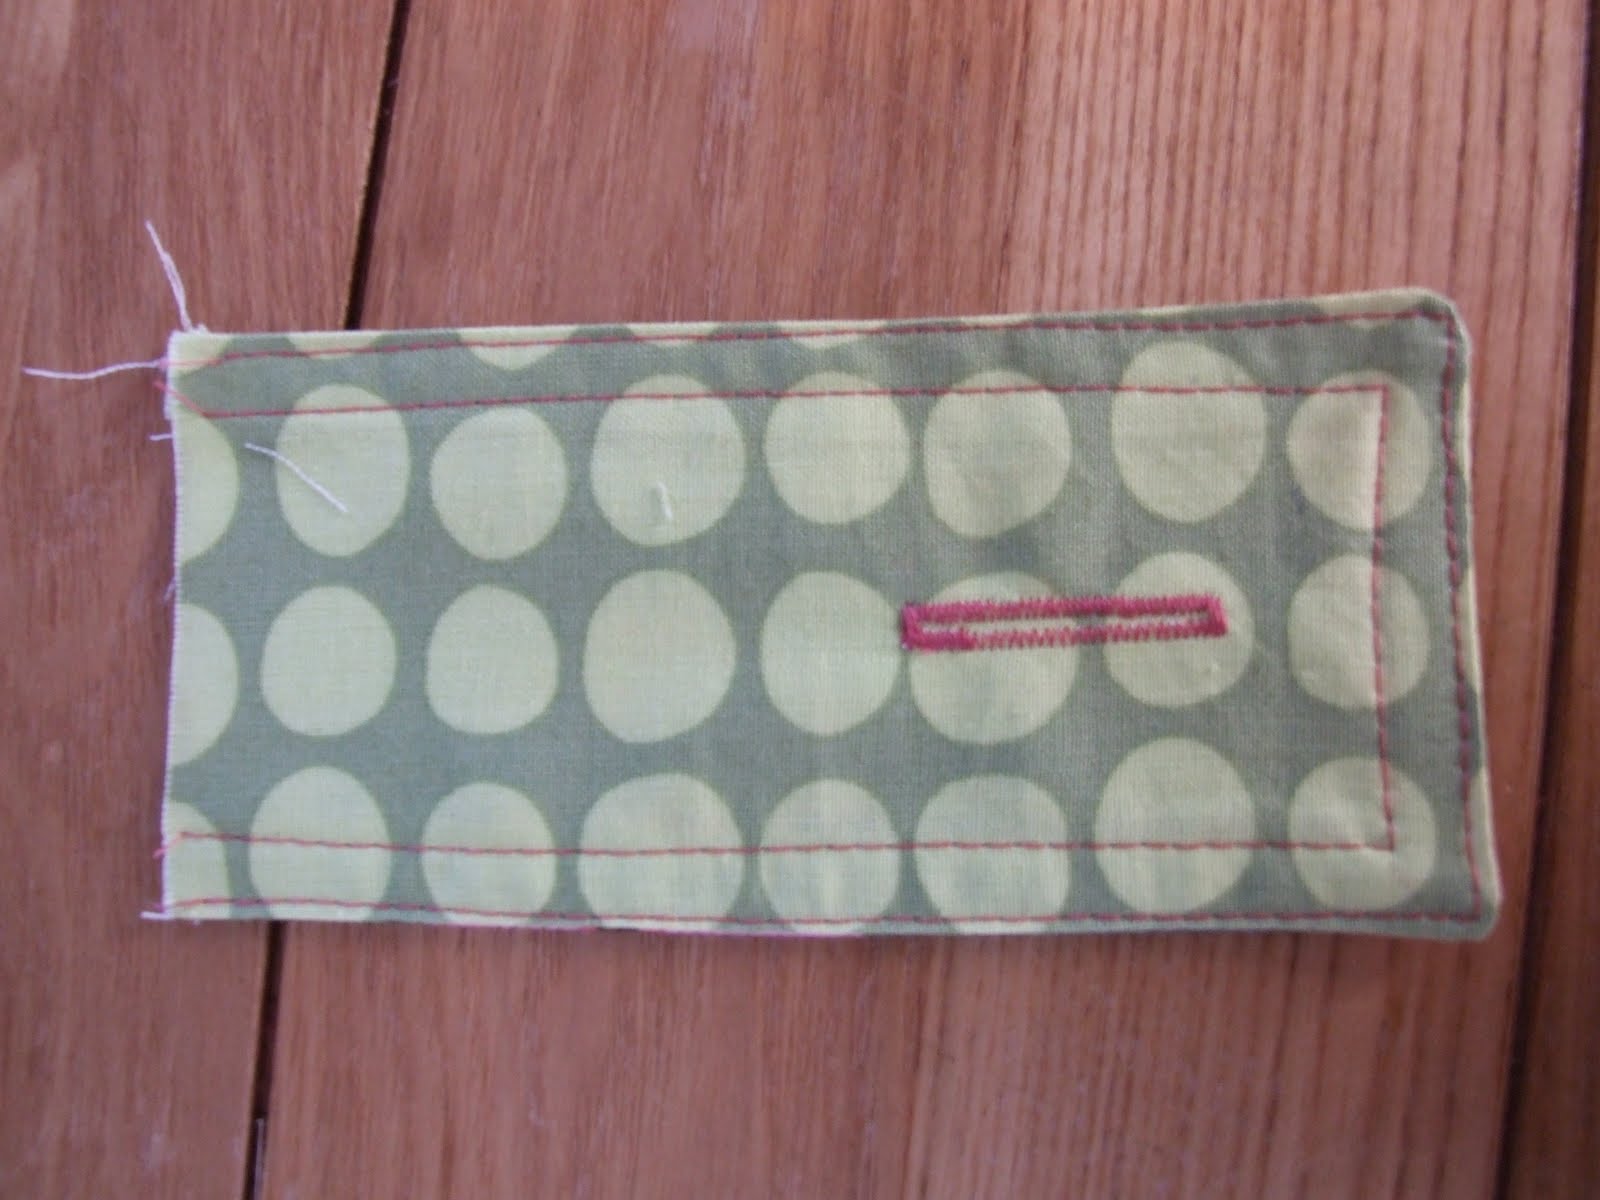
 I had a piece left over from one of my Liverpools so I made a simple A line skirt....I will be teaching an intermediate sewing class in Pippablue in january,showing how to make this skirt.It's a great little project....covers cutting out,seams,zip ( I have a really nifty method for beginners),ways to finish a waist band and hemming.Can't wait!!
 Here's another version of the simple A line skirt anyone can make from the basic pattern.
 Love this ribbon.
 I made this little girls skirt for Ger and Eva in Pippablue to show what can be made from 2 fat quarters.
 I love admiring other peoples patchwork but would not be a mad fan of making my own.I could not resist these fabrics and am loving how this turned out. I wanted it to be lightweight so I attached it to a fleece throw I picked up in Penneys.

Happy!!

 I even managed to make 2 new roman blinds for my utility. Remember I made these for my kitchen.
 Hope you all have a Crafty New Year!!!


