This is my second attempt at a tutorial....here is the bag I am going to guide you through making.Please feel free to let me know if I have left anything out..


Place the pattern on a double layer of fabric. I used a home decor weight so did not interface it. If you use a lighter weight fabric I would recommend using an iron on interfacing to give stiffness.

Here you can see the measurements if you click on the picture to enlarge.

more measurements

Cut out lining...again on a double layer.I used fleece fabric for a soft finish.

This is the pattern for the pocket,cut two pieces.I used co-ordinating fabrics.

Note the marks at the top for the pleats

Pin the outside marks to the centre to form a pleat on both fabrics.

Pleat.

Pin the two pieces together ,sew around leaving a gap at the bottom to turn out.

gap

trim the corners.

Sew the 2 sides on the lining.

Sew one side of the main fabric.

If you like add a trim to the top of the pocket.I could not resist this pretty ribbon.

Open out the main fabric and place the pocket centrally on the seam you sewed.Sew the pocket in position.
Sew together the other side seam.

Open out the bag so that the two seams are on top of one another and sew along the bottom edge of the bag.Do the same with the lining.

Make corners and trim excess.Again do this for the lining too.

This picture might give you a better idea of how to do the corners.


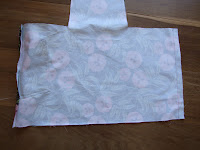
Next is the button flap.Cut two pieces 5inches by 3 inches.

Sew around 3 sides and clip corners

Overstitch and sew a butonhole.

Place the lining into the main bag right sides together.

Place the botton flap between the layers centering it on the middle seam.

Pin the two layers together all around,keping seams and corners matched.

Starting about 5 inches from the end of the strap sew down along the strap ,across the front of the bag and up the second strap,taking care at the corners.


Stop about 5 inches from the end of the strap.

Sew the other side from beginning of the strap to the end of the other side.

Clip into the corners taking care not to snip the stitching.

Turn the bag right sides out through the straps.Pin and sew the strap seam.

Strap seam sewn.

Fold in a seam allowance on both fabrics.

Handstitch the gap together.


Sew in a button....and voila....all done...Enjoy your new bag!!
There is a
flickr group for the lush shoulder bag....if you make a bag from my tutorial please add pictures to the group pool...I would love to see your bag.


 Place the pattern on a double layer of fabric. I used a home decor weight so did not interface it. If you use a lighter weight fabric I would recommend using an iron on interfacing to give stiffness.
 Here you can see the measurements if you click on the picture to enlarge.
 more measurements
 Cut out lining...again on a double layer.I used fleece fabric for a soft finish.
 This is the pattern for the pocket,cut two pieces.I used co-ordinating fabrics.
 Note the marks at the top for the pleats
 Pin the outside marks to the centre to form a pleat on both fabrics.
 Pleat.
 Pin the two pieces together ,sew around leaving a gap at the bottom to turn out.
 gap
gap trim the corners.
 Sew the 2 sides on the lining.
 Sew one side of the main fabric.
 If you like add a trim to the top of the pocket.I could not resist this pretty ribbon.
 Open out the main fabric and place the pocket centrally on the seam you sewed.Sew the pocket in position.
 Sew together the other side seam.
 Open out the bag so that the two seams are on top of one another and sew along the bottom edge of the bag.Do the same with the lining.
 Make corners and trim excess.Again do this for the lining too.
 This picture might give you a better idea of how to do the corners.
 Next is the button flap.Cut two pieces 5inches by 3 inches.
 Sew around 3 sides and clip corners
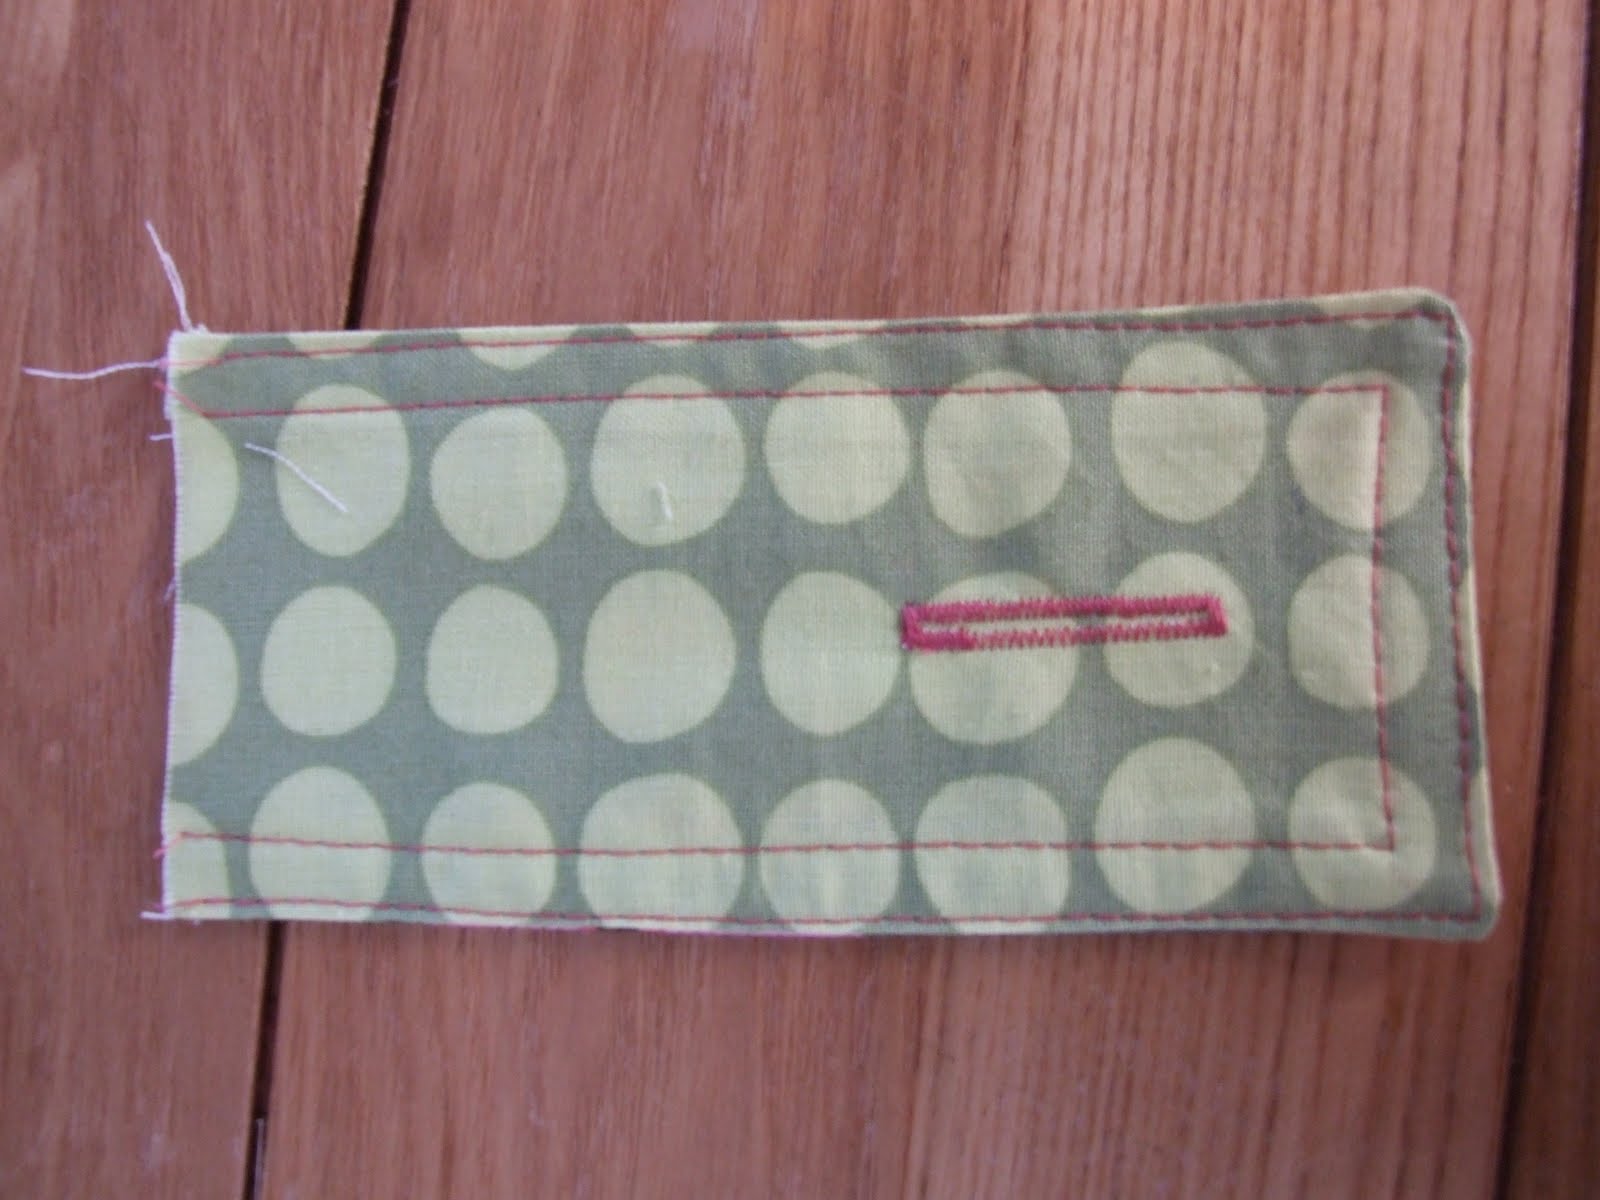 Overstitch and sew a butonhole.
 Place the lining into the main bag right sides together.
 Place the botton flap between the layers centering it on the middle seam.
 Pin the two layers together all around,keping seams and corners matched.
 Starting about 5 inches from the end of the strap sew down along the strap ,across the front of the bag and up the second strap,taking care at the corners.
 Stop about 5 inches from the end of the strap.
 Sew the other side from beginning of the strap to the end of the other side.
 Clip into the corners taking care not to snip the stitching.
 Turn the bag right sides out through the straps.Pin and sew the strap seam.
 Strap seam sewn.
 Fold in a seam allowance on both fabrics.
 Handstitch the gap together.
 Sew in a button....and voila....all done...Enjoy your new bag!!
Wow, great tutorial, well done! Like the way you made the corners and the pleat... I might even have a go...!
ReplyDeleteWhat a lovely bag! And great fabric choice!!
ReplyDeletePopping over during our lunch break, and I'm so glad I did! Andrea...this is fabulous! I can't wait to give it a try. Thanks so much for sharing.
ReplyDeleteI love the fabrics you used. Such a pretty bag. Great tutorial! Happy Wednesday! :o)
I like the pretty morning glory fabric.
ReplyDeleteGreat tutorial! Thanks for sharing :)
ReplyDeleteCute! Cute! Cute! Thanks so much for sharing! It's been a while since I've visited. We were in the middle of our move, then we became rather busy after settling in. I can't wait to try this bag! I hope all is well with you in your neck of the woods. :-)
ReplyDeleteoh wow....what a cute bag and well explained tutorial. Good job! Thank you so much for putting it up...
ReplyDeleteYou could contact me on asunnydisposition.shop@gmail.com
Do visit my shop www.asunnydisposition.etsy.com
I love it!! I think I might need to make myself a new bag...
ReplyDeleteI linked to your tutorial over at Craft Gossip Sewing:
http://sewing.craftgossip.com/tutorial-lush-shoulder-bag/2011/01/10/
--Anne
Great bag! Thanks so much for sharing your excellent tutorial. I can't wait to give it a go!
ReplyDeleteAdorable! I love the fabrics you picked. I never would've thought to use fleece for the interior. Great pocket shape too!
ReplyDeletelooks like a great tutorial. i will have to make one for myself! thanks.
ReplyDeleteThat is a fantastic tute.....very carefully photographed. Even for an experienced sewer, this allows me to do and not have to think/plan every step. Thank you so much!
ReplyDeleteMy version! Thanks a ton for the idea. http://www.flickr.com/photos/kiwination/5483867528/
ReplyDelete